Add Lottie animations to a Pepper QiSDK application

Make your pepper app beautiful in 15 minutes
This article presents the steps to add a Lottie animation to your project. It takes 15 minutes to include it in your project: 4 files to modify, 1 dependency to add, 3 lines of code, 2 layout views, 2 files to upload. That’s it!
Introduction
Before there were animated gifs, now there are Lotties. Airbnb created the Lottie library that allows adding animations to your Android apps.
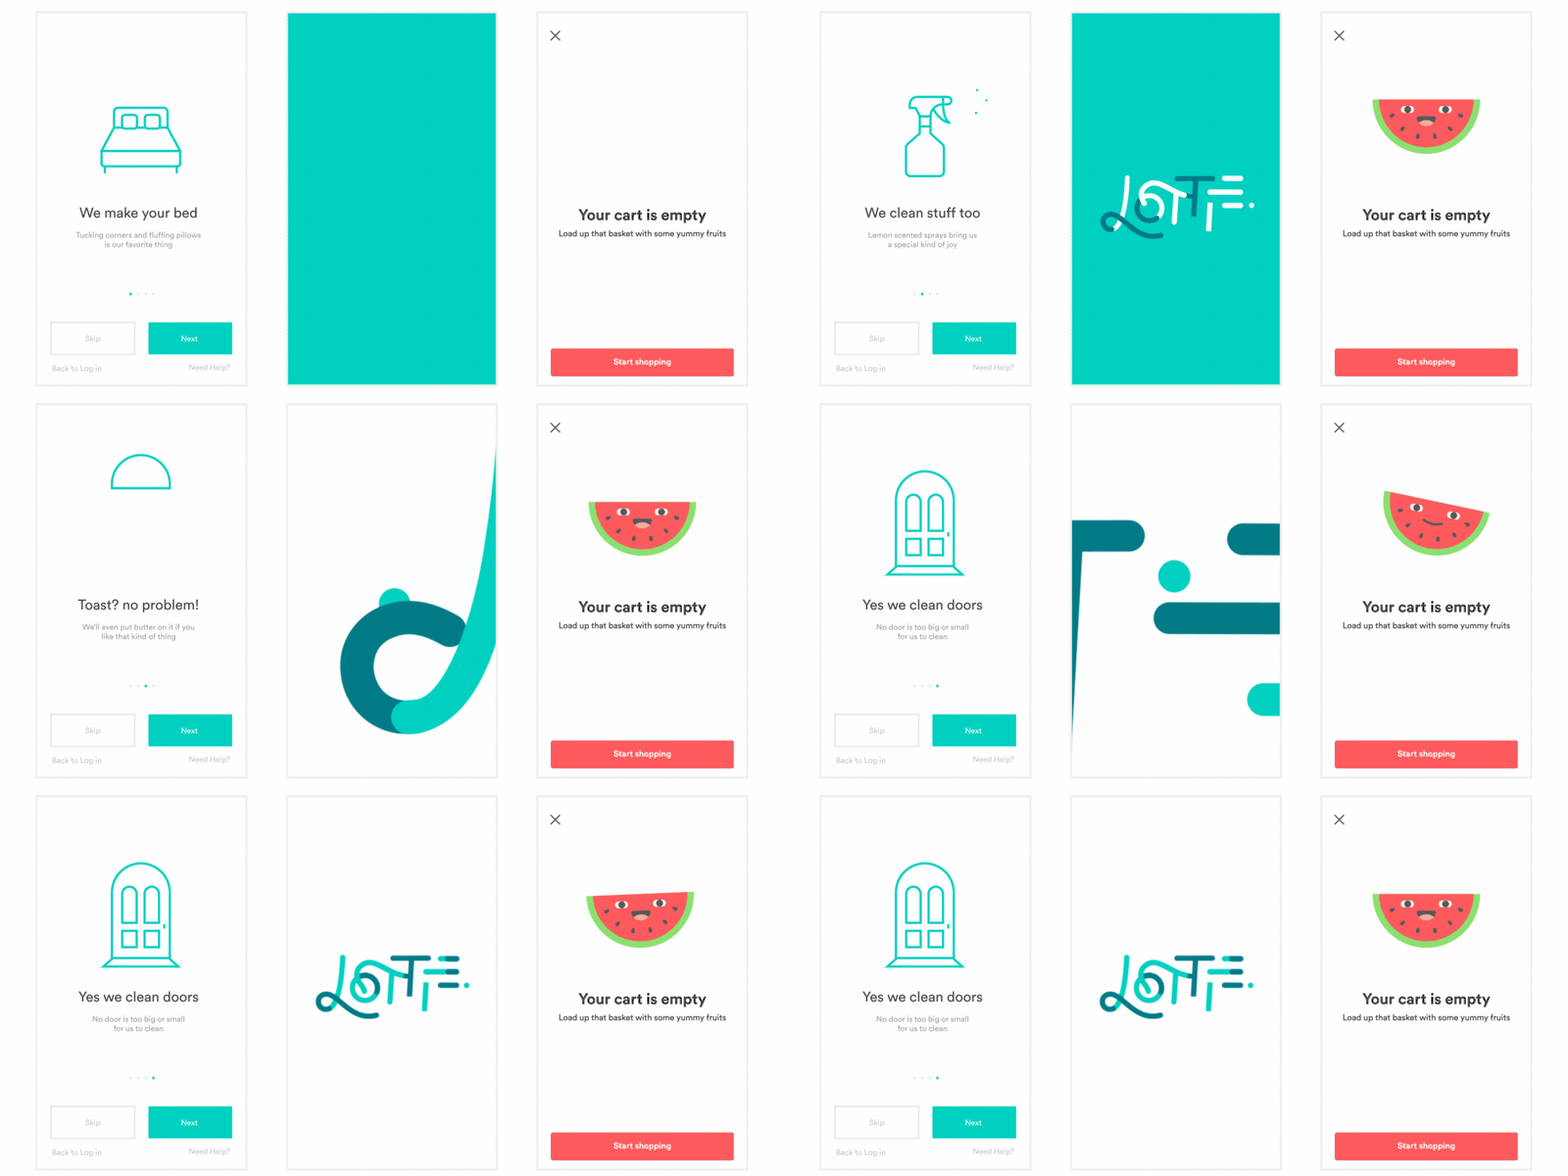
At SoftBank Robotics Europe, we like Lottie very much (you can read the article dedicated to lottie animation tool).
Adding an existing Lottie animation to your pepper app is really simple and can be done in 15 minutes following this short tutorial.
You can find existing animations on lottiefiles.com website (apparently you can even edit the animation with the Bodymovin Editor on the site, I didn’t try).
Here we are not entering the details of how to build a Lottie. We just explain how to integrate existing ones to an app for Pepper QiSDK.
Let’s go and add two animations to an android app. We use Kotlin. The animation can be added in the layout directly or from code. Let’s see how to.
Elements involved in your project:
* Gradle file
* Assets folder
* Layout ActivityMain.xml
* Kotlin class MainActivity.kt
How-to
0/ Create an app
- Create a new robot application (no details as this tutorial expects you to know, if not refer to the Getting started tutorial) and choose Kotlin as the default language for your project.
1/ Declare dependencies
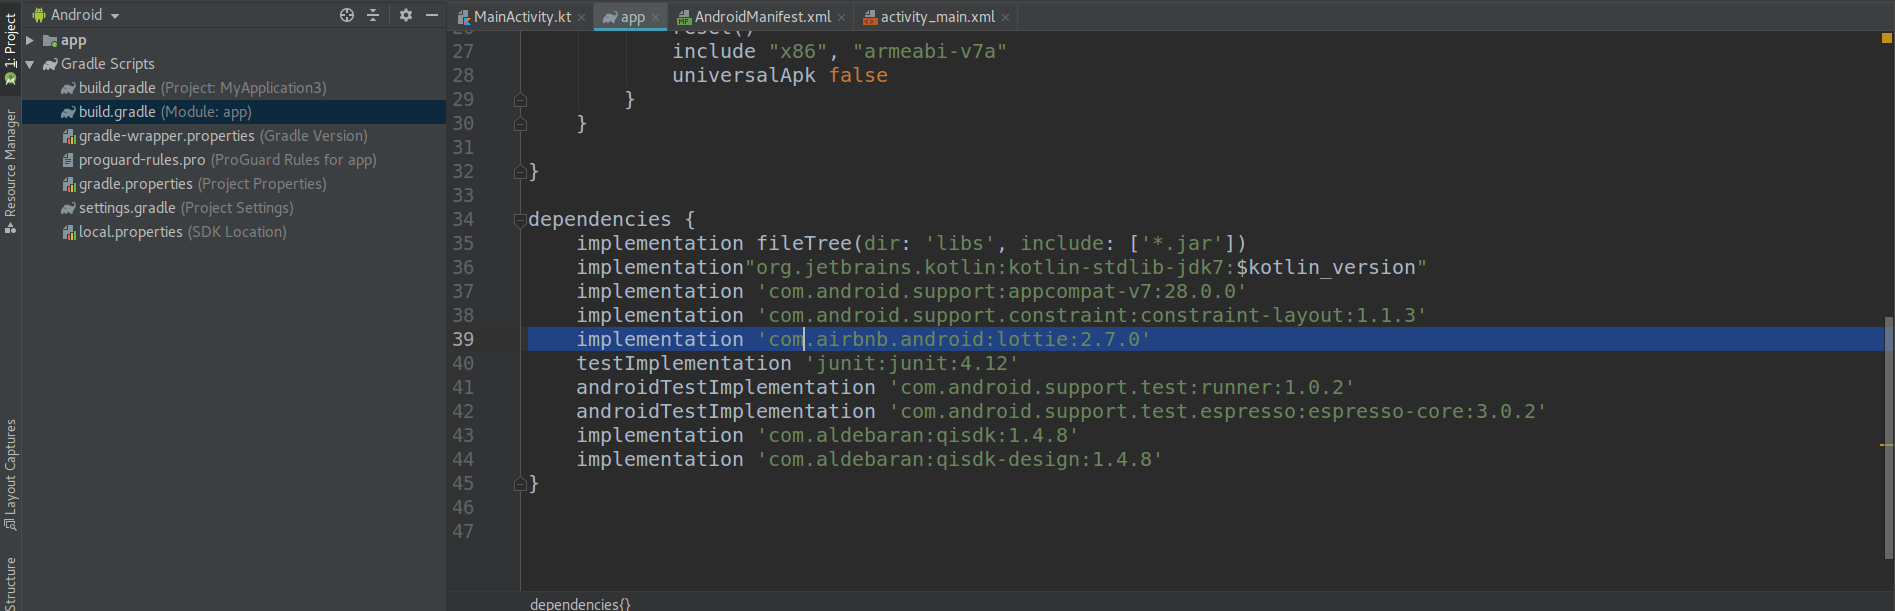
First of all, you need to add the Lottie library dependency to your configuration: * In the dependencies section add the following entry:
implementation 'com.airbnb.android:lottie:2.7.0'
2/ Download existing Lottie animations
You can download two animations from lottiefiles.com or use your own if you have any Lottie animations.
* Go to lottiesfiles.com site.
* Login (you can use your google account to create an account and connect quickly).
* Select two animations and download them. They are in zip format, unzip them. You’ll get two JSON files.
* Rename your two animations files to “animation1.json” and “animation2.json” for example.
For this tutorial we chose:
* The instagram social media icon
* The google voice assist
3/ Add the animation files to your project
- Add the two JSON files you to the “assets” folder of your app;
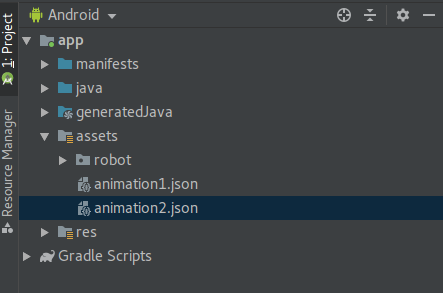
The “assets” folder should exist in a pepper app otherwise create it in “src/main” directory.
4/ Edit the layout
Now we are going to edit the layout "activity_main.xml"
To add two LottieAnimationView views in file "activity_main.xml" use the layout text editor of Android Studio* and copy paste the following lines to it:
<?xml version="1.0" encoding="utf-8"?>
The view with id av_from_code will be updated from the kotlin file.
The view av_from_layout is defined in the layout itself.
5/ Edit the code
Now let us edit the kotlin MainActivity.kt file.
* In the kotlin “MainActivity.kt” file add the following lines in method onCreate to update the view av_from_code defined in the layout:
...
// add this import import kotlinx.android.synthetic.main.activity_main.* ...
override fun onCreate(savedInstanceState: Bundle?) { Log.i( TAG, "onCreate called") super.onCreate(savedInstanceState) QiSDK.register(this, this) setContentView(R.layout.activity_main)
  // added lines
  av_from_code.setAnimation("animation2.json")
  av_from_code.playAnimation()
  av_from_code.loop(true)
}
...
6/ Test your app
On the simulator or on the robot, run it now! On you emulator the result looks like this:
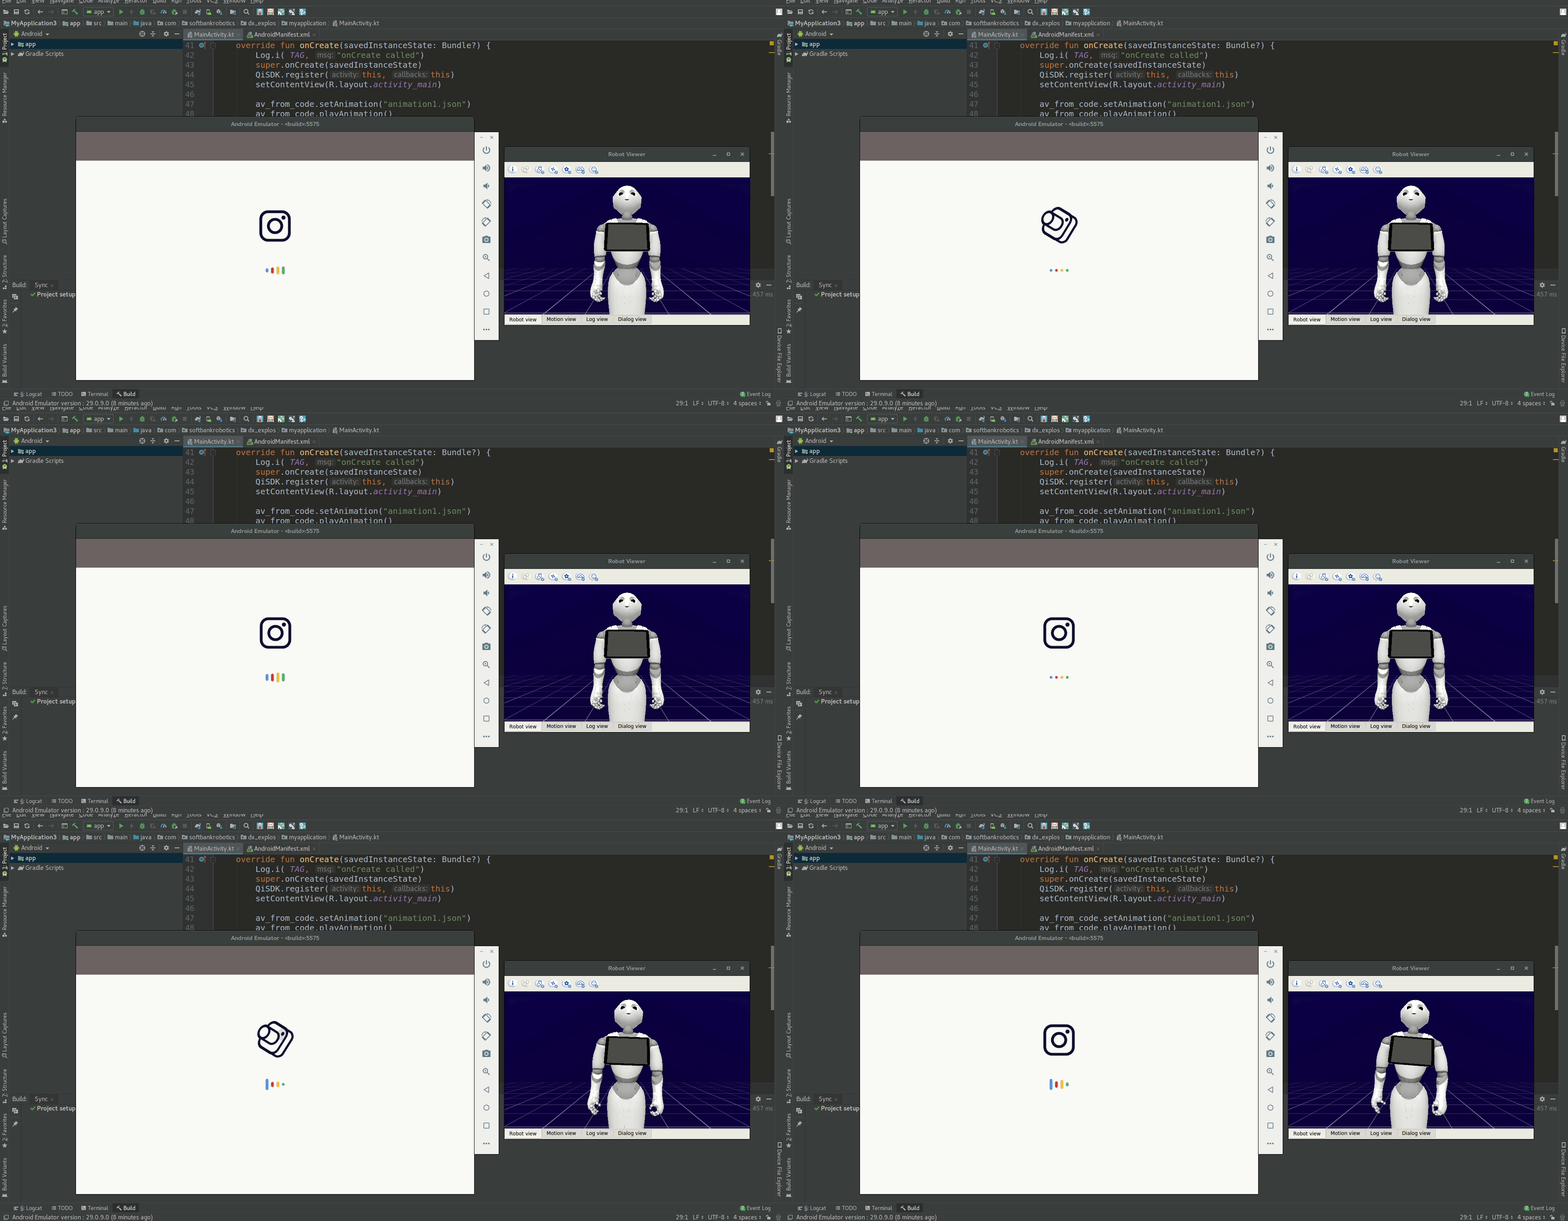
That’s it!
Related Content
The Lottie animation tool Experimenting with the flexible and efficient Android library on Pepper’s tablet
 Getting started
Learn how to create an Android application for Pepper QiSDK robot.
Getting started
Learn how to create an Android application for Pepper QiSDK robot.
 Getting Started With Animations in Android Using Lottie
A tutorial on using Lottie in Android
Getting Started With Animations in Android Using Lottie
A tutorial on using Lottie in Android
Lottiefiles.com website
A library of Lottie animations
Lottie animation by Lordicon
Lottie animation by Lordicon used in this article
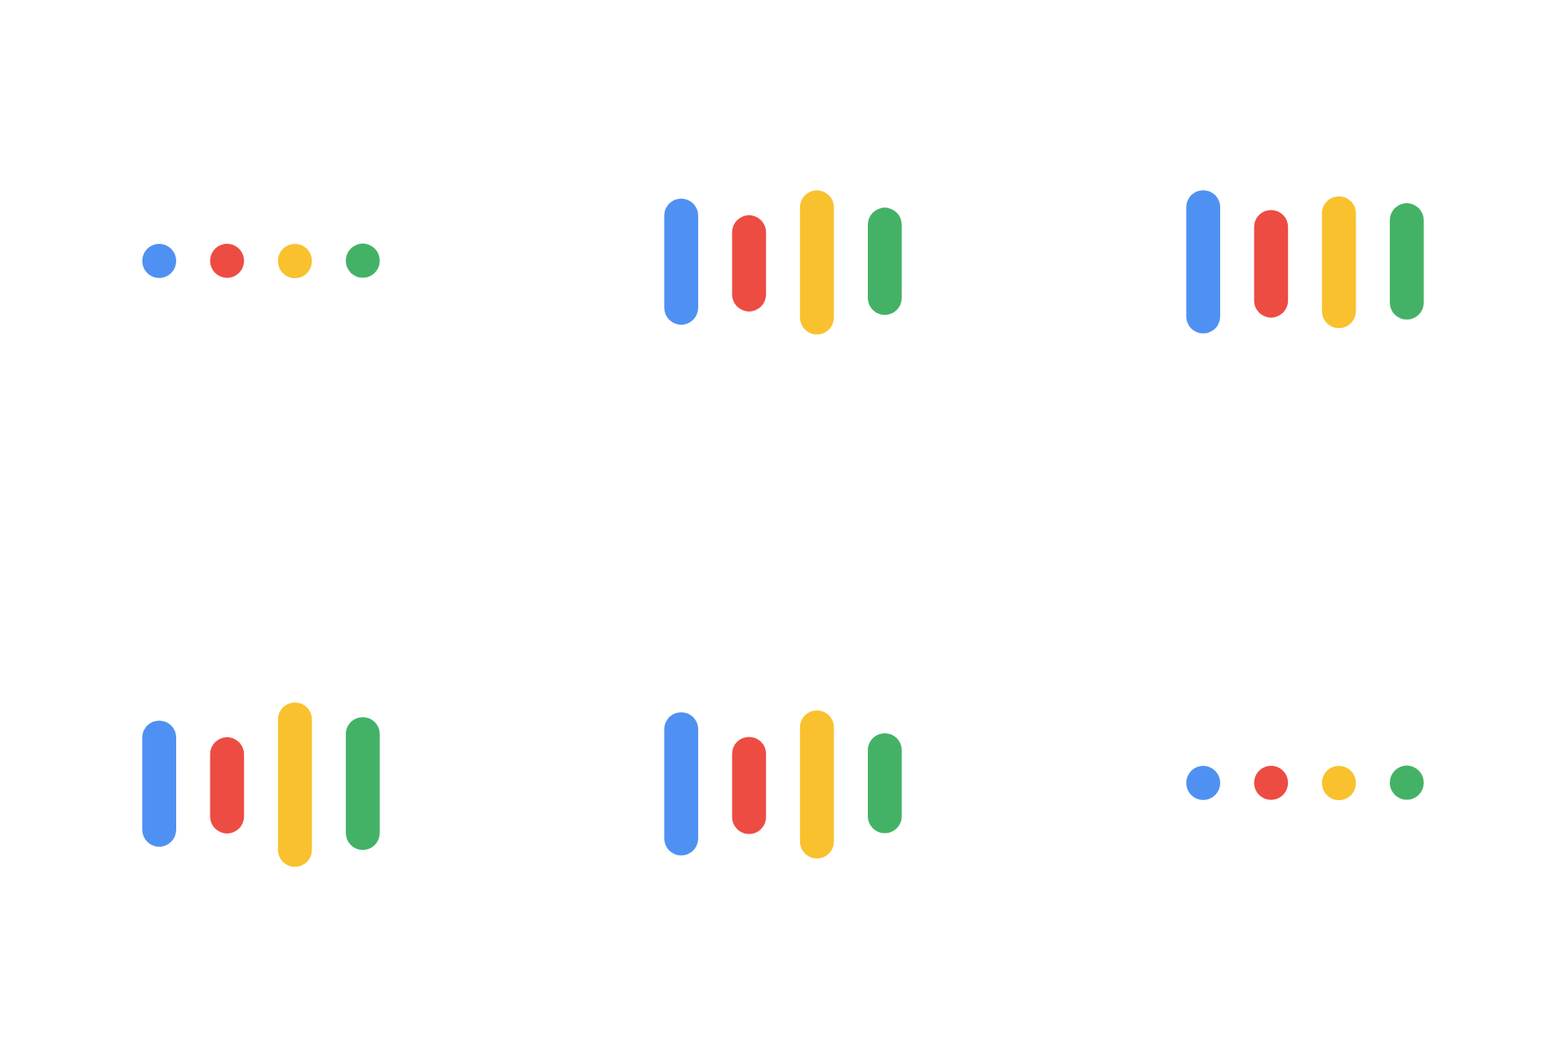 Lottie animation by John Kutty KM
Lottie animation by Lordicon used in this article
Lottie animation by John Kutty KM
Lottie animation by Lordicon used in this article